Rainy afternoon Robotics, or the "Frankentruck FT-5"
Mon 02 August 2010 by jillianSo, the day turned rainy and there is a somewhat rigorous moratorium here on desktop computing. I decided that didn't include supervised robotics. Full details, more pics and movie mayhem after the break.
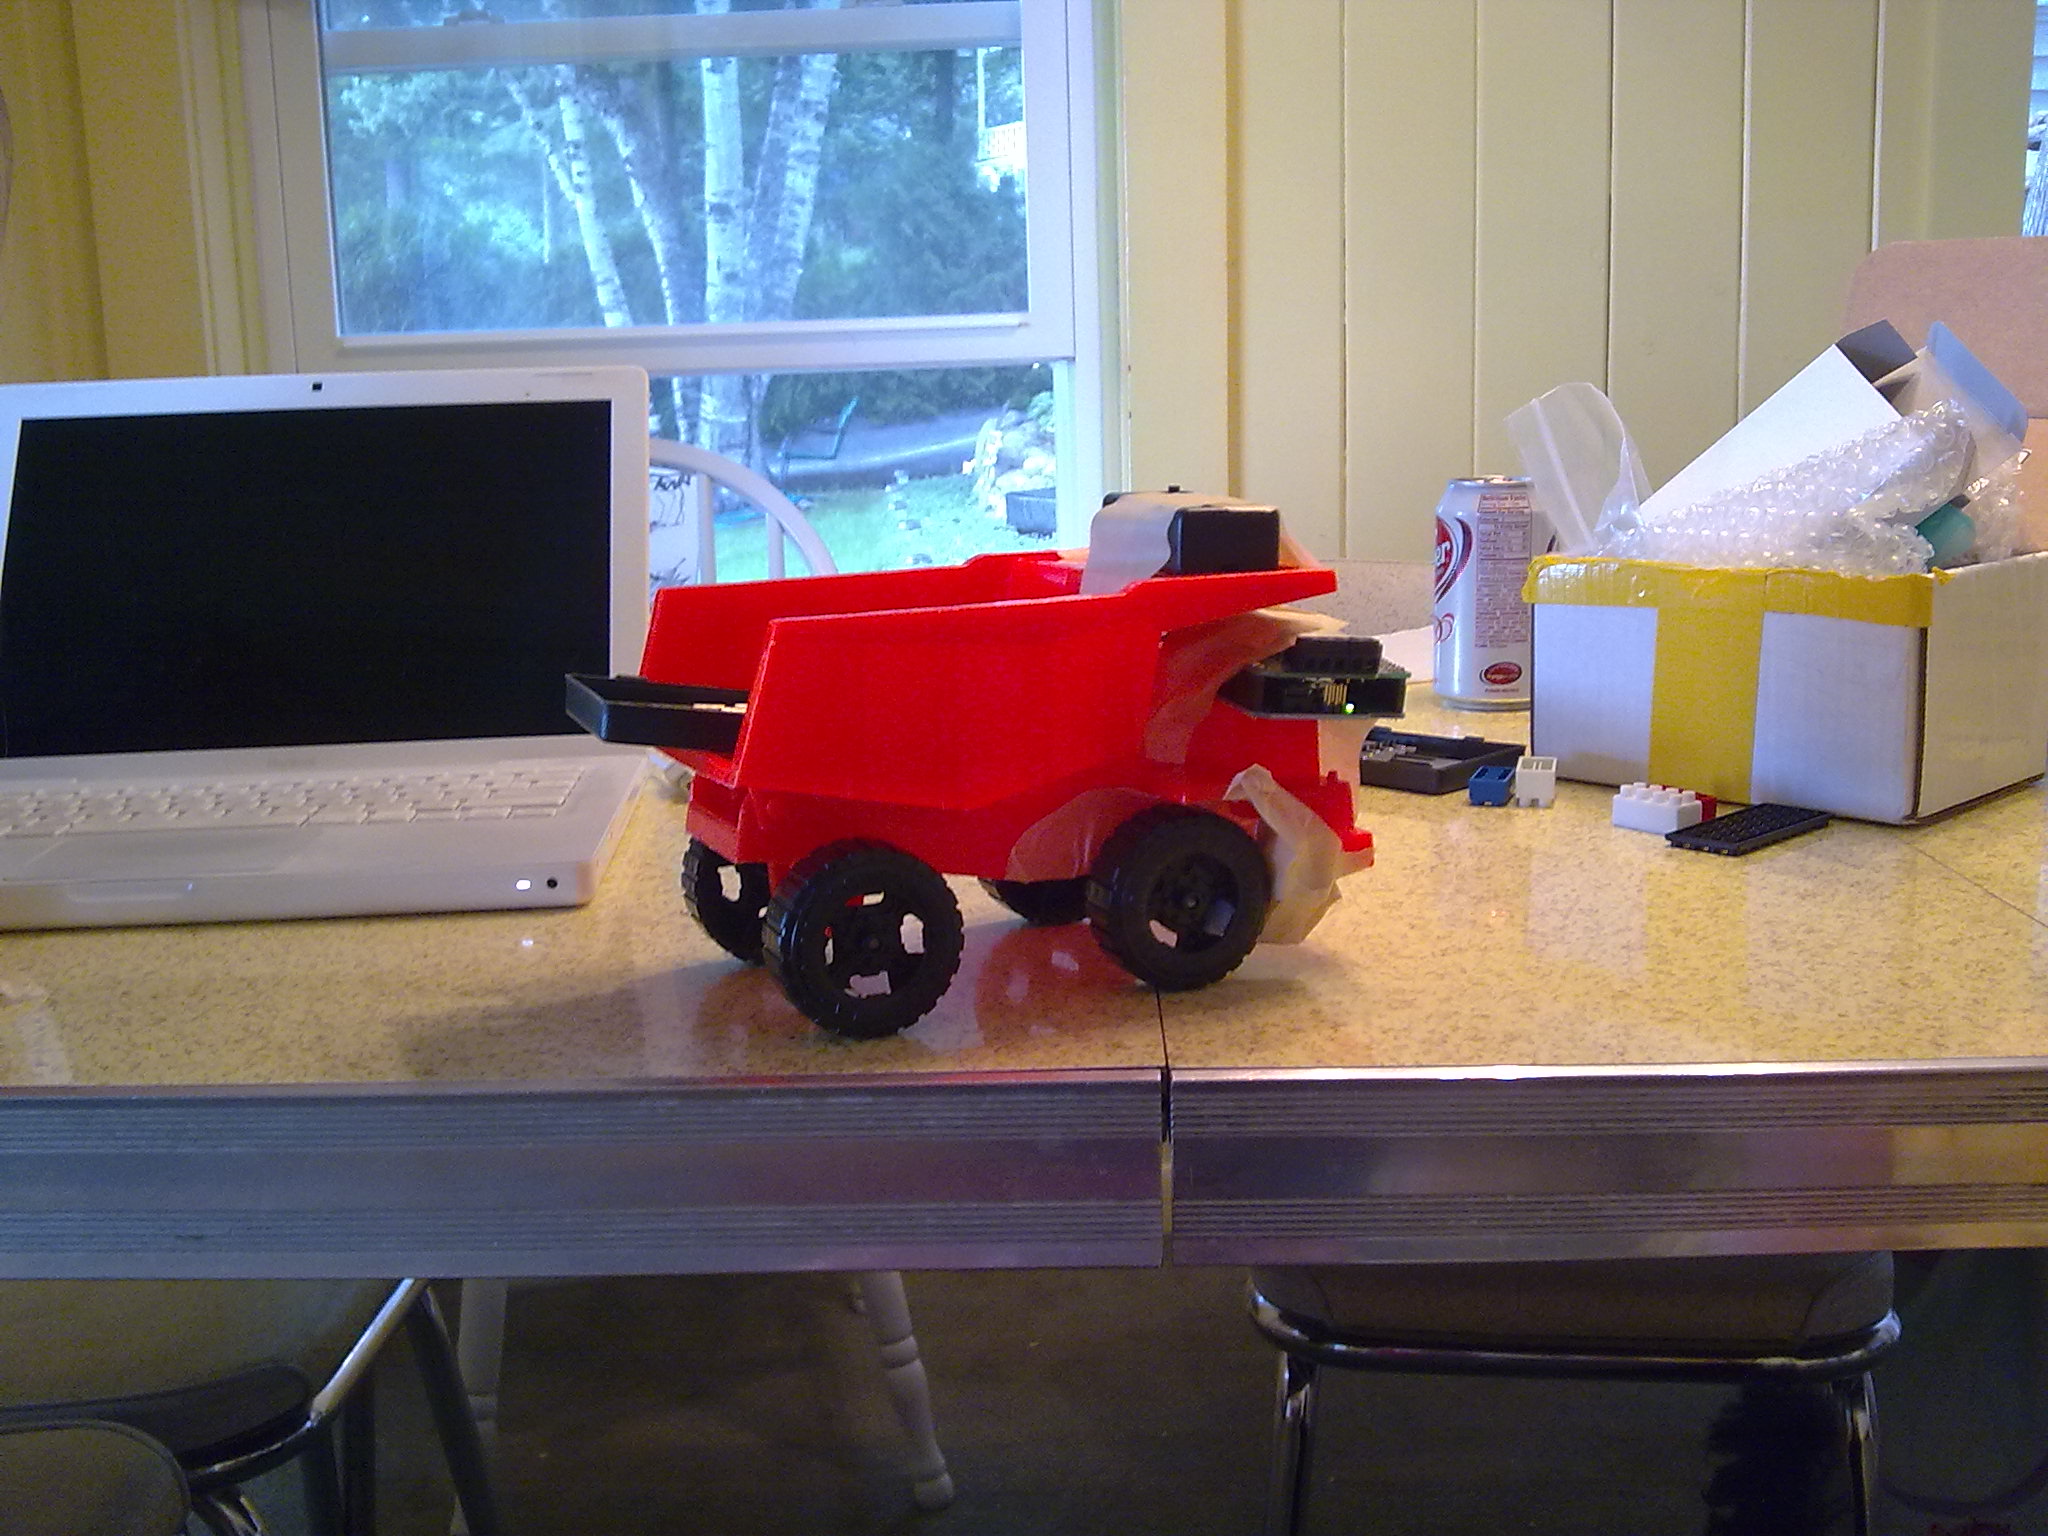
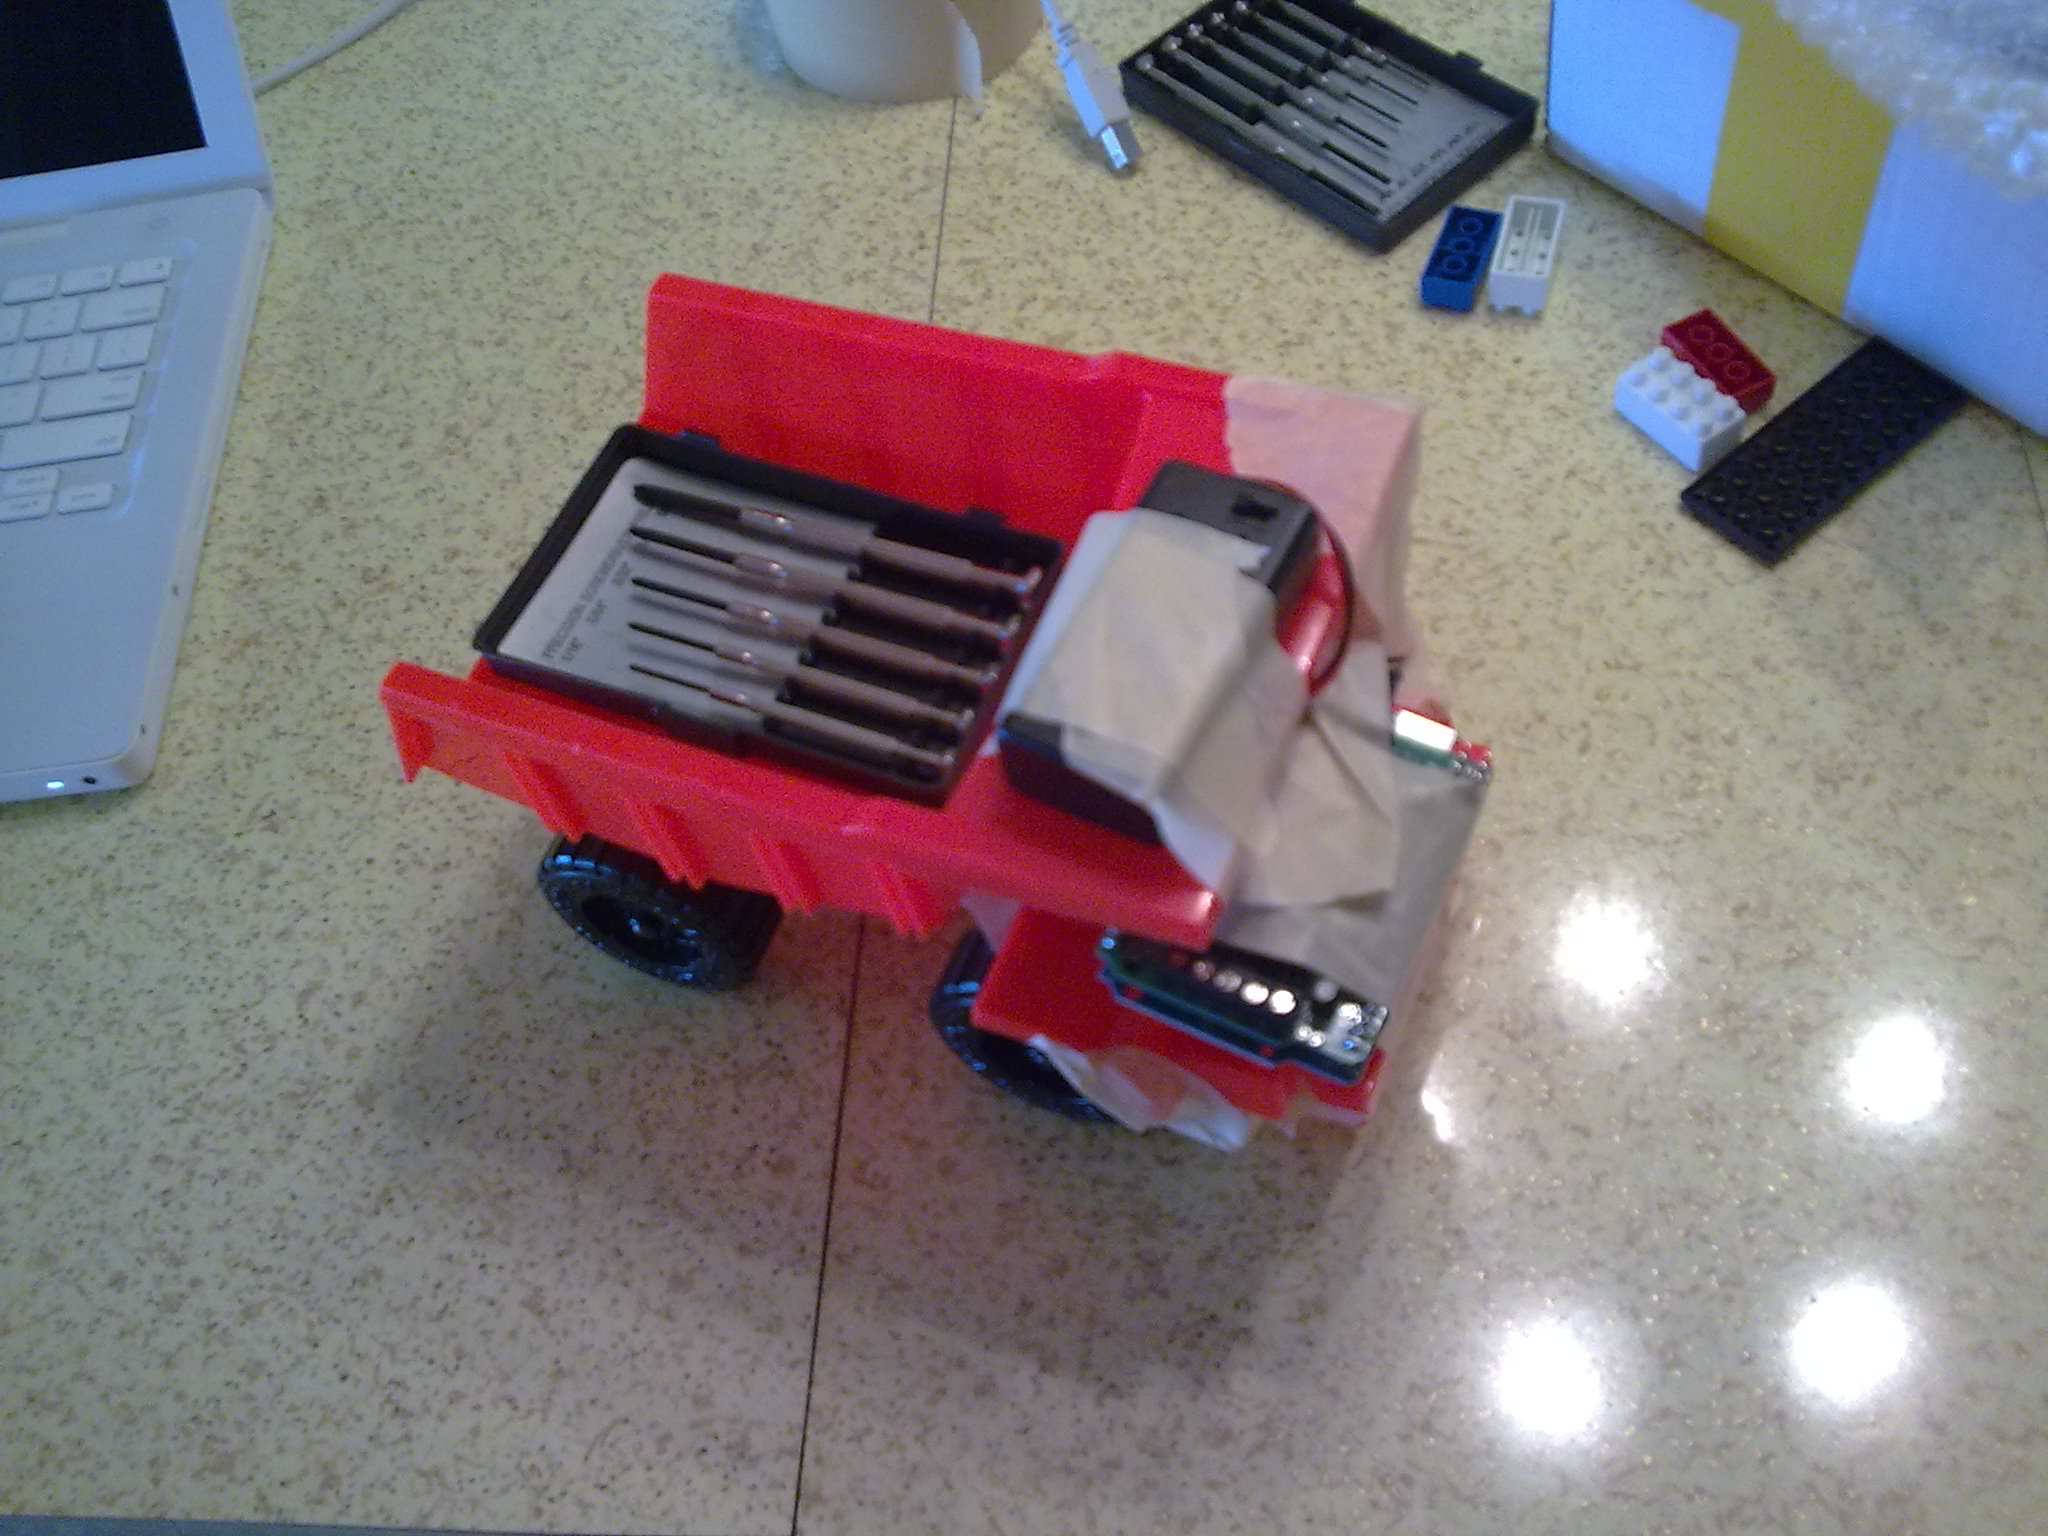
The wee Lad and Lass contributed time, hands, materials and ideas. I "happened to have on hand" an Arduino Duemilenove, and an Adafruit Motor Party Pack. We chose the stepper motor for a proof of concept and explored our mounting and vehicle options. The end result is a mod of a standard inexpensive toy dump truck.
Materials:
- 1 Toy dump truck with free-rotating wheels, preferably with interior grooves on the wheels.
- 1 Arduino Duemilanove microcontroller, we got ours from Adafruit.
- 1 Motor Party Add-on Pack for Arduino, again from Adafruit.
- 2-3 Loc Blocks (Legos or Knex or any sort of modular building block will do. We used what we had on hand.)
- 1 Roll of 3M Highland 203 Tape (any Masking tape will do, Duct tape might increase the longevity of your FT-5).
- 1 payload to offset the front-end weight of the control and driver hardware.
- The AFMotor Stepper Library and example sketches, from Lady Ada. You probably want the version with microstepping support.
- 1 9V Battery pack with the right connector for Arduino. (Alternatively, power it via USB programming port).
I had obtained a ready-built Arduino and My brother had supplied a motor shield kit, which I had assembled previously. Experienced people can put the shield together in about 40 minutes or less, it took me longer but was very easy to approach. Armed with these, We first explored the mounting options. We decided that we did not want to permanently damage the truck (yet!), and chose masking tape for its ready availability and ease of cleanup/use.
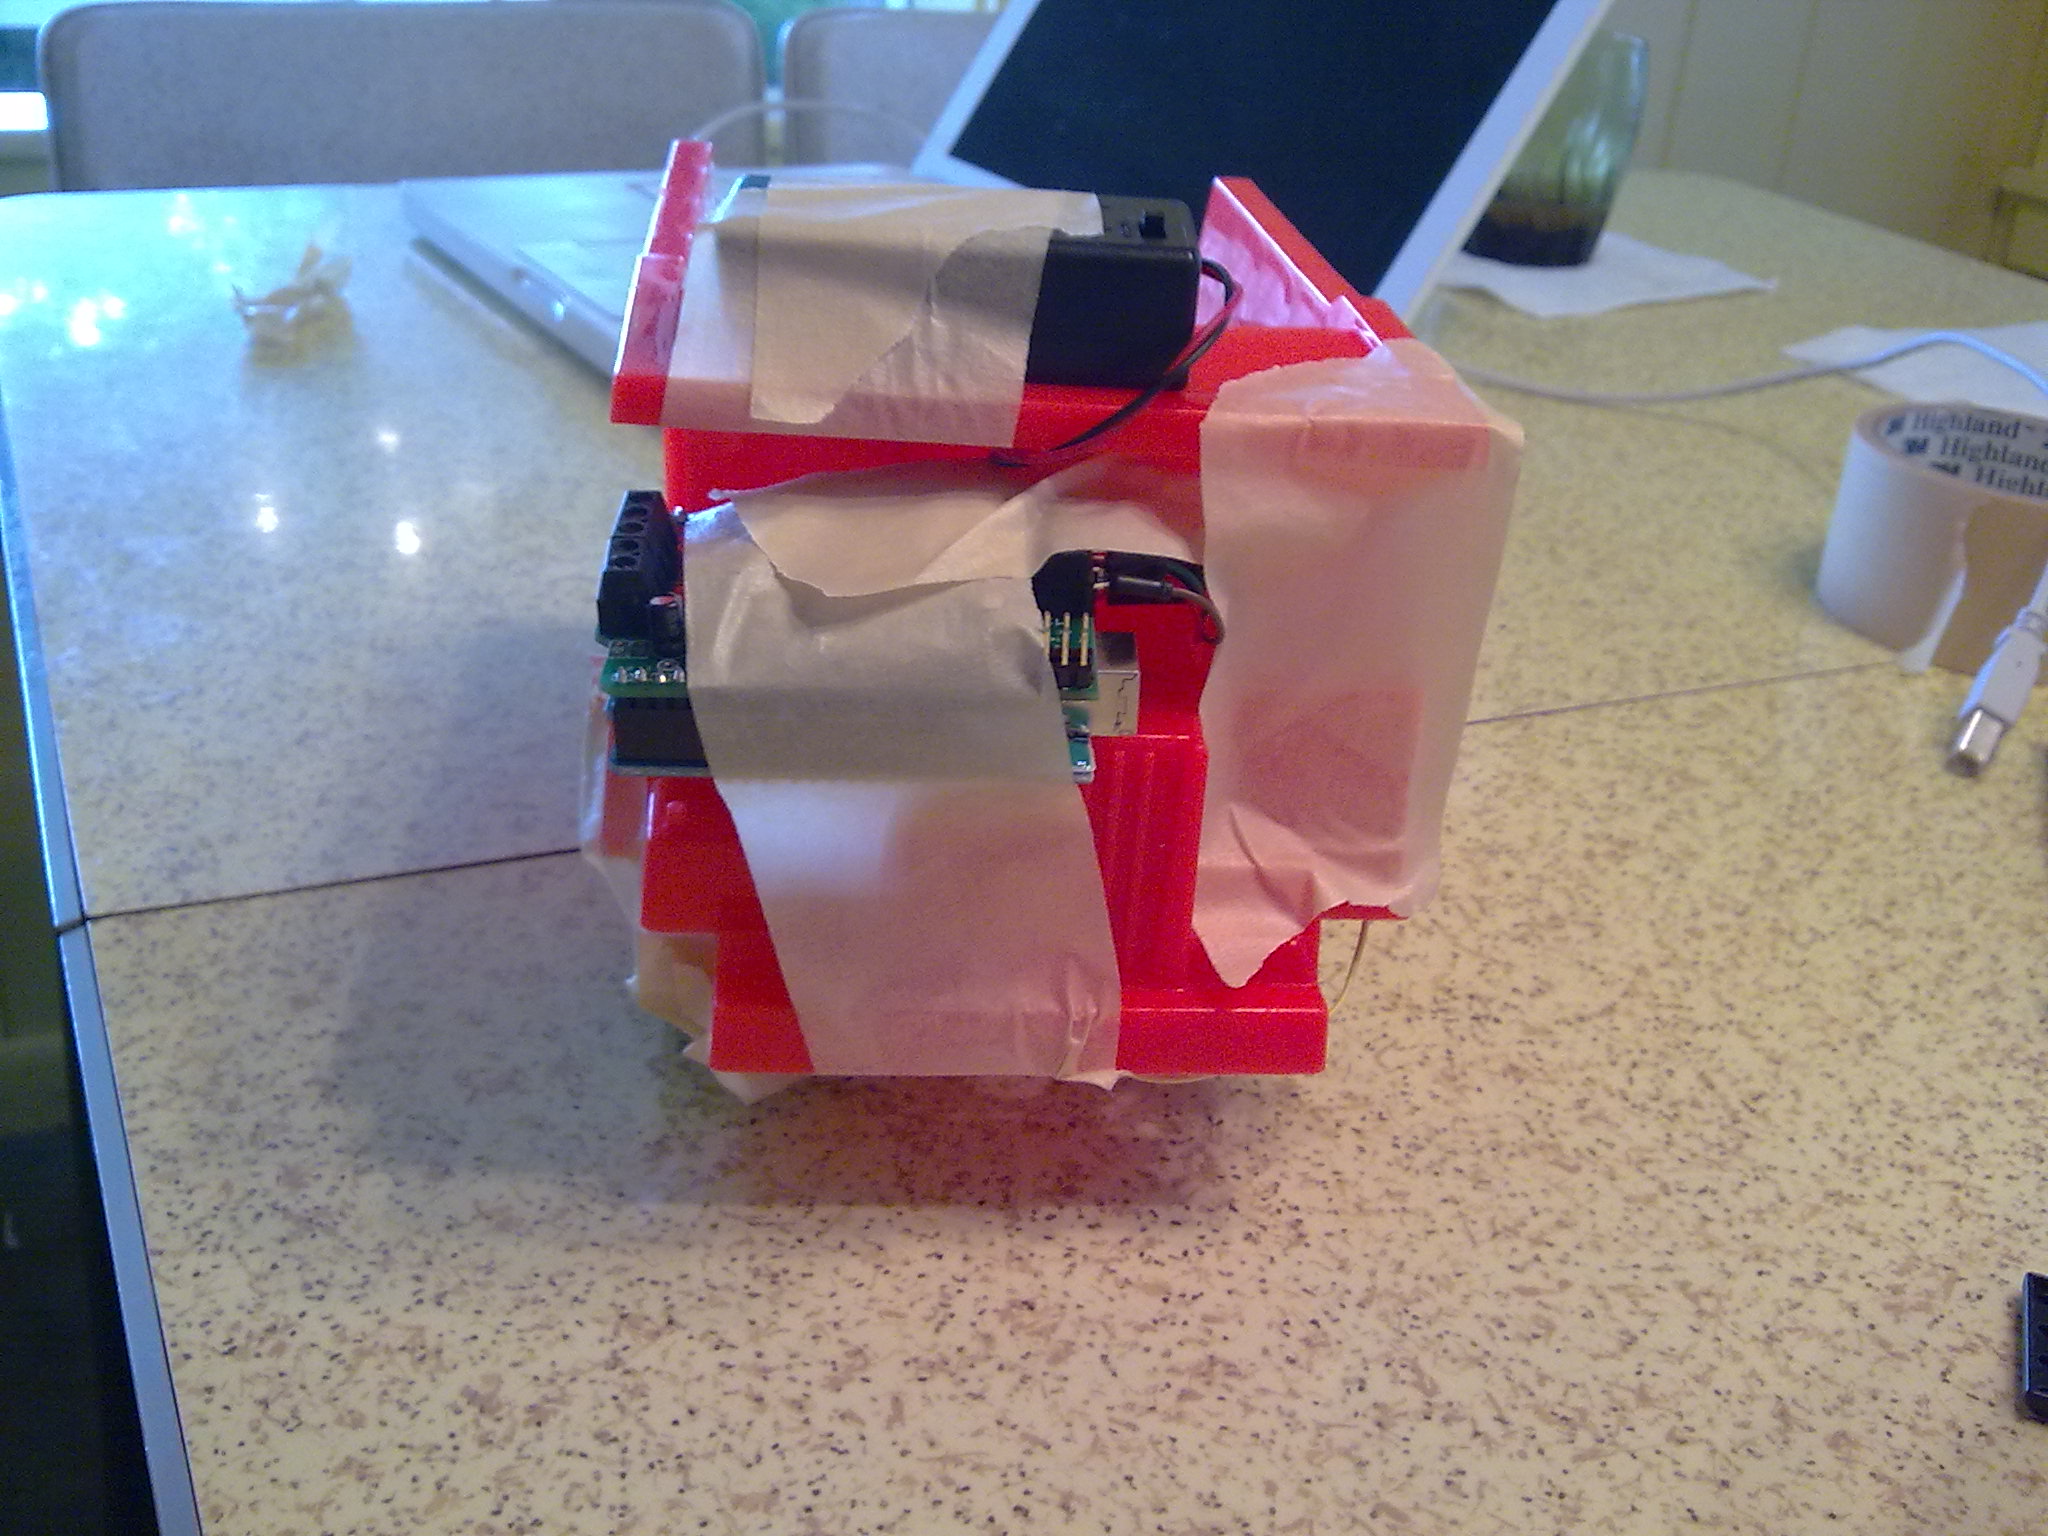
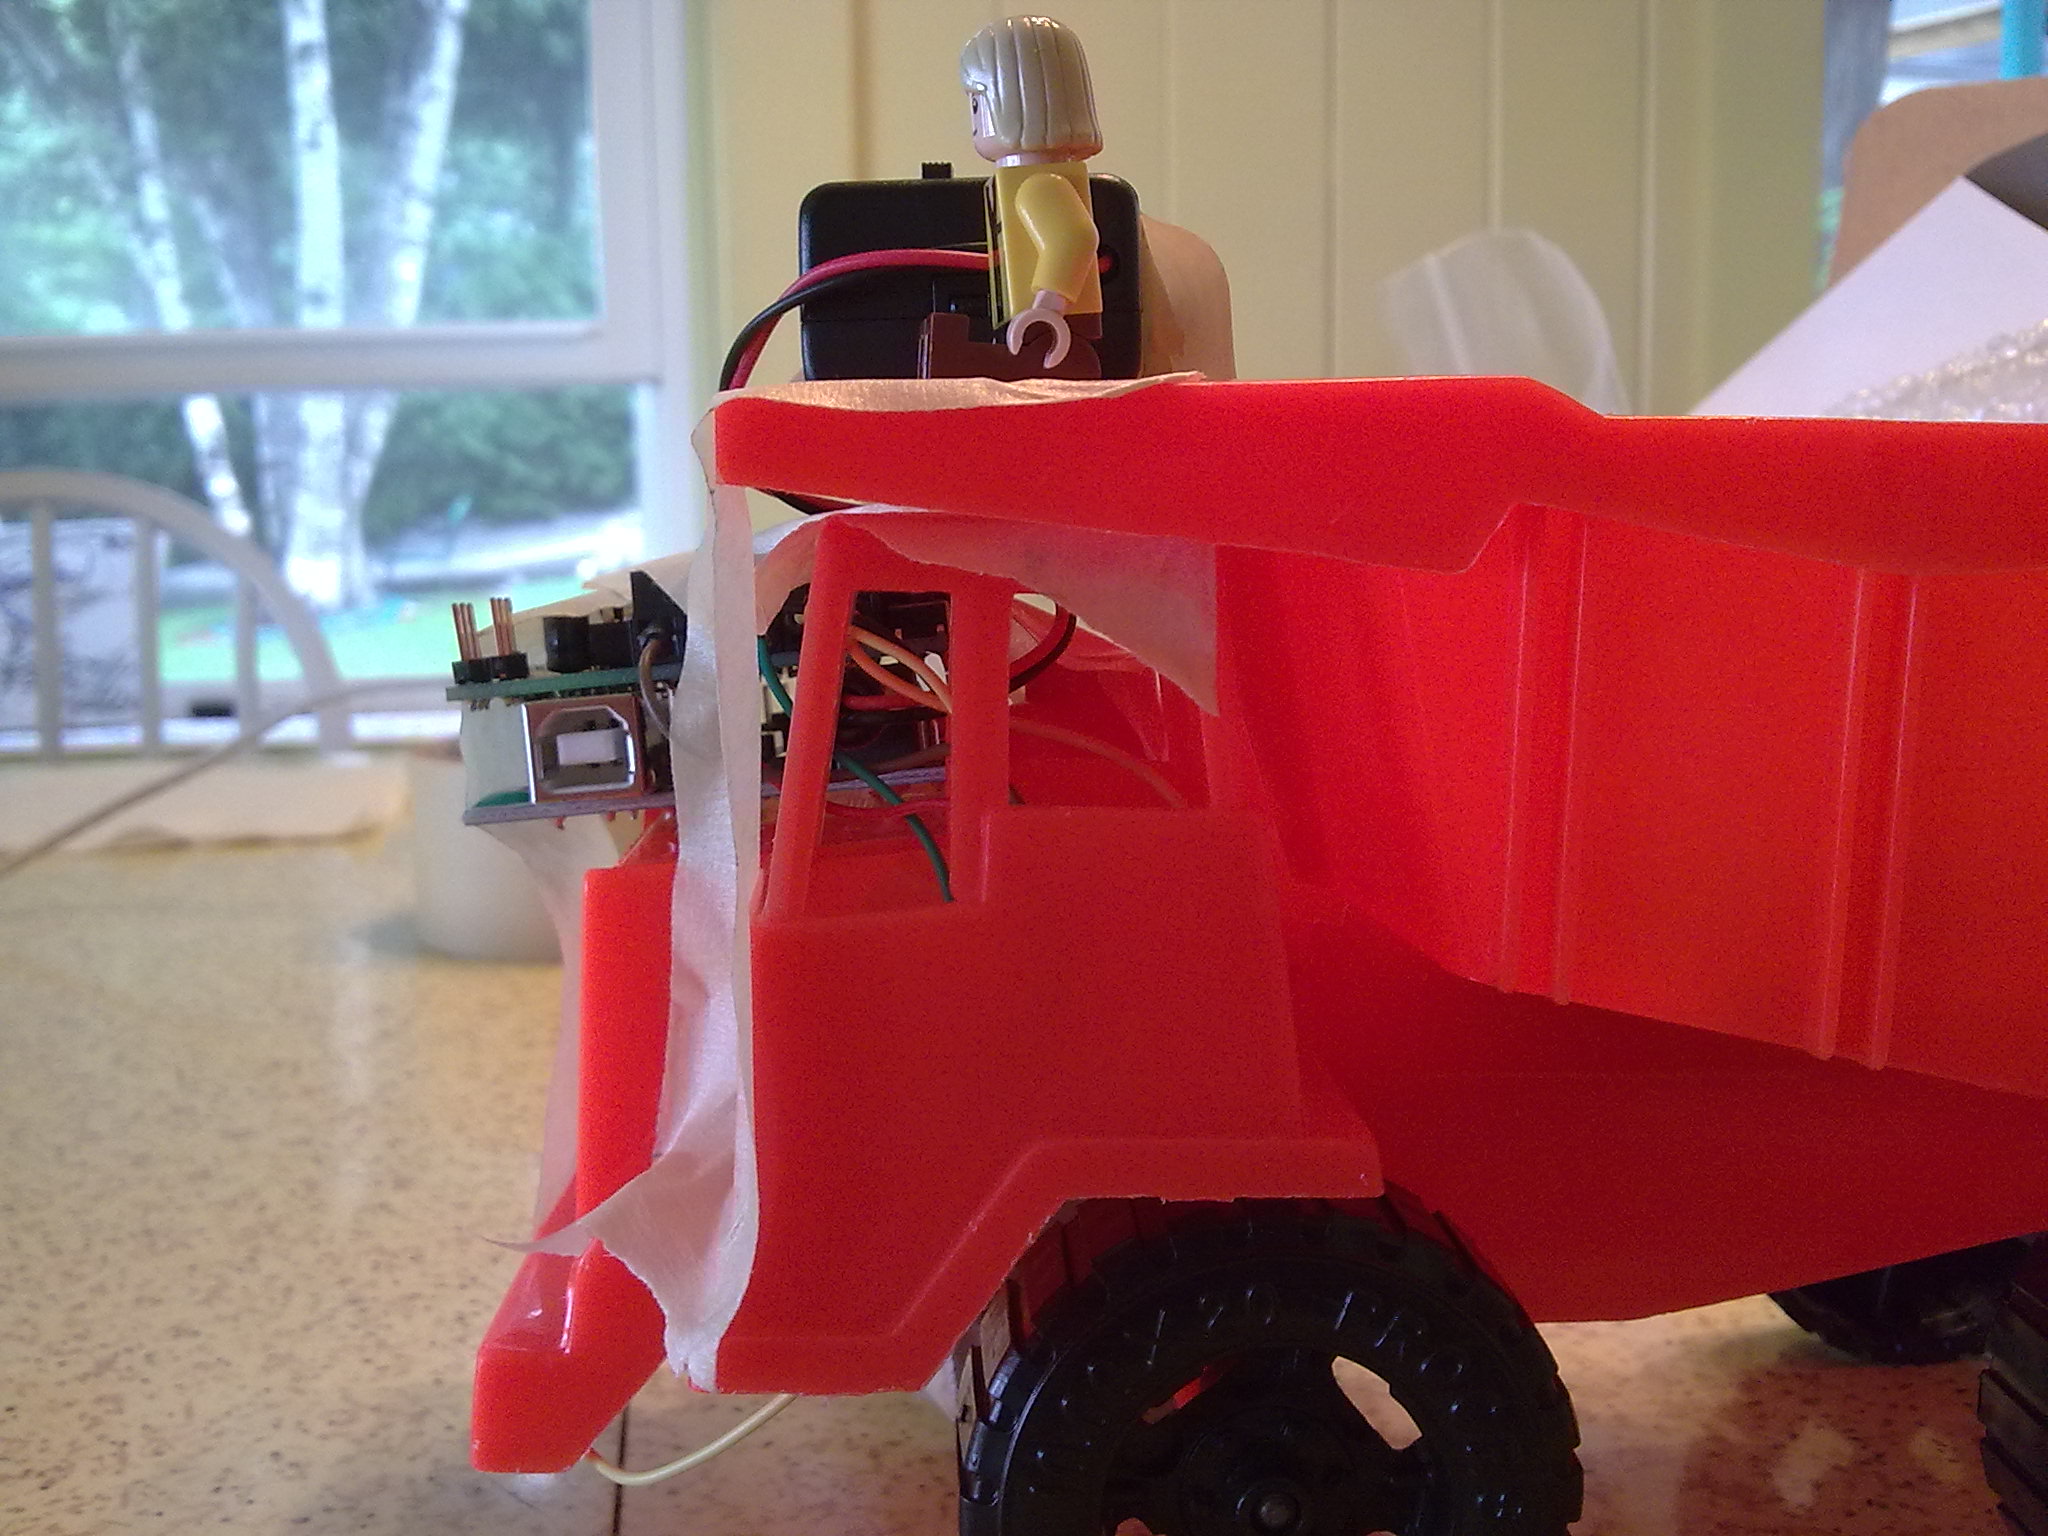
We mounted the battery pack on the top edge (or "lip") of the truck bed, and the Arduino to the hood. We chose the stepper motor from the Party Pack, because it has an infinite range of rotation. The servos would be better, but we weren't sure they would rotate freely, and the DC motor comes with no leads soldered on.
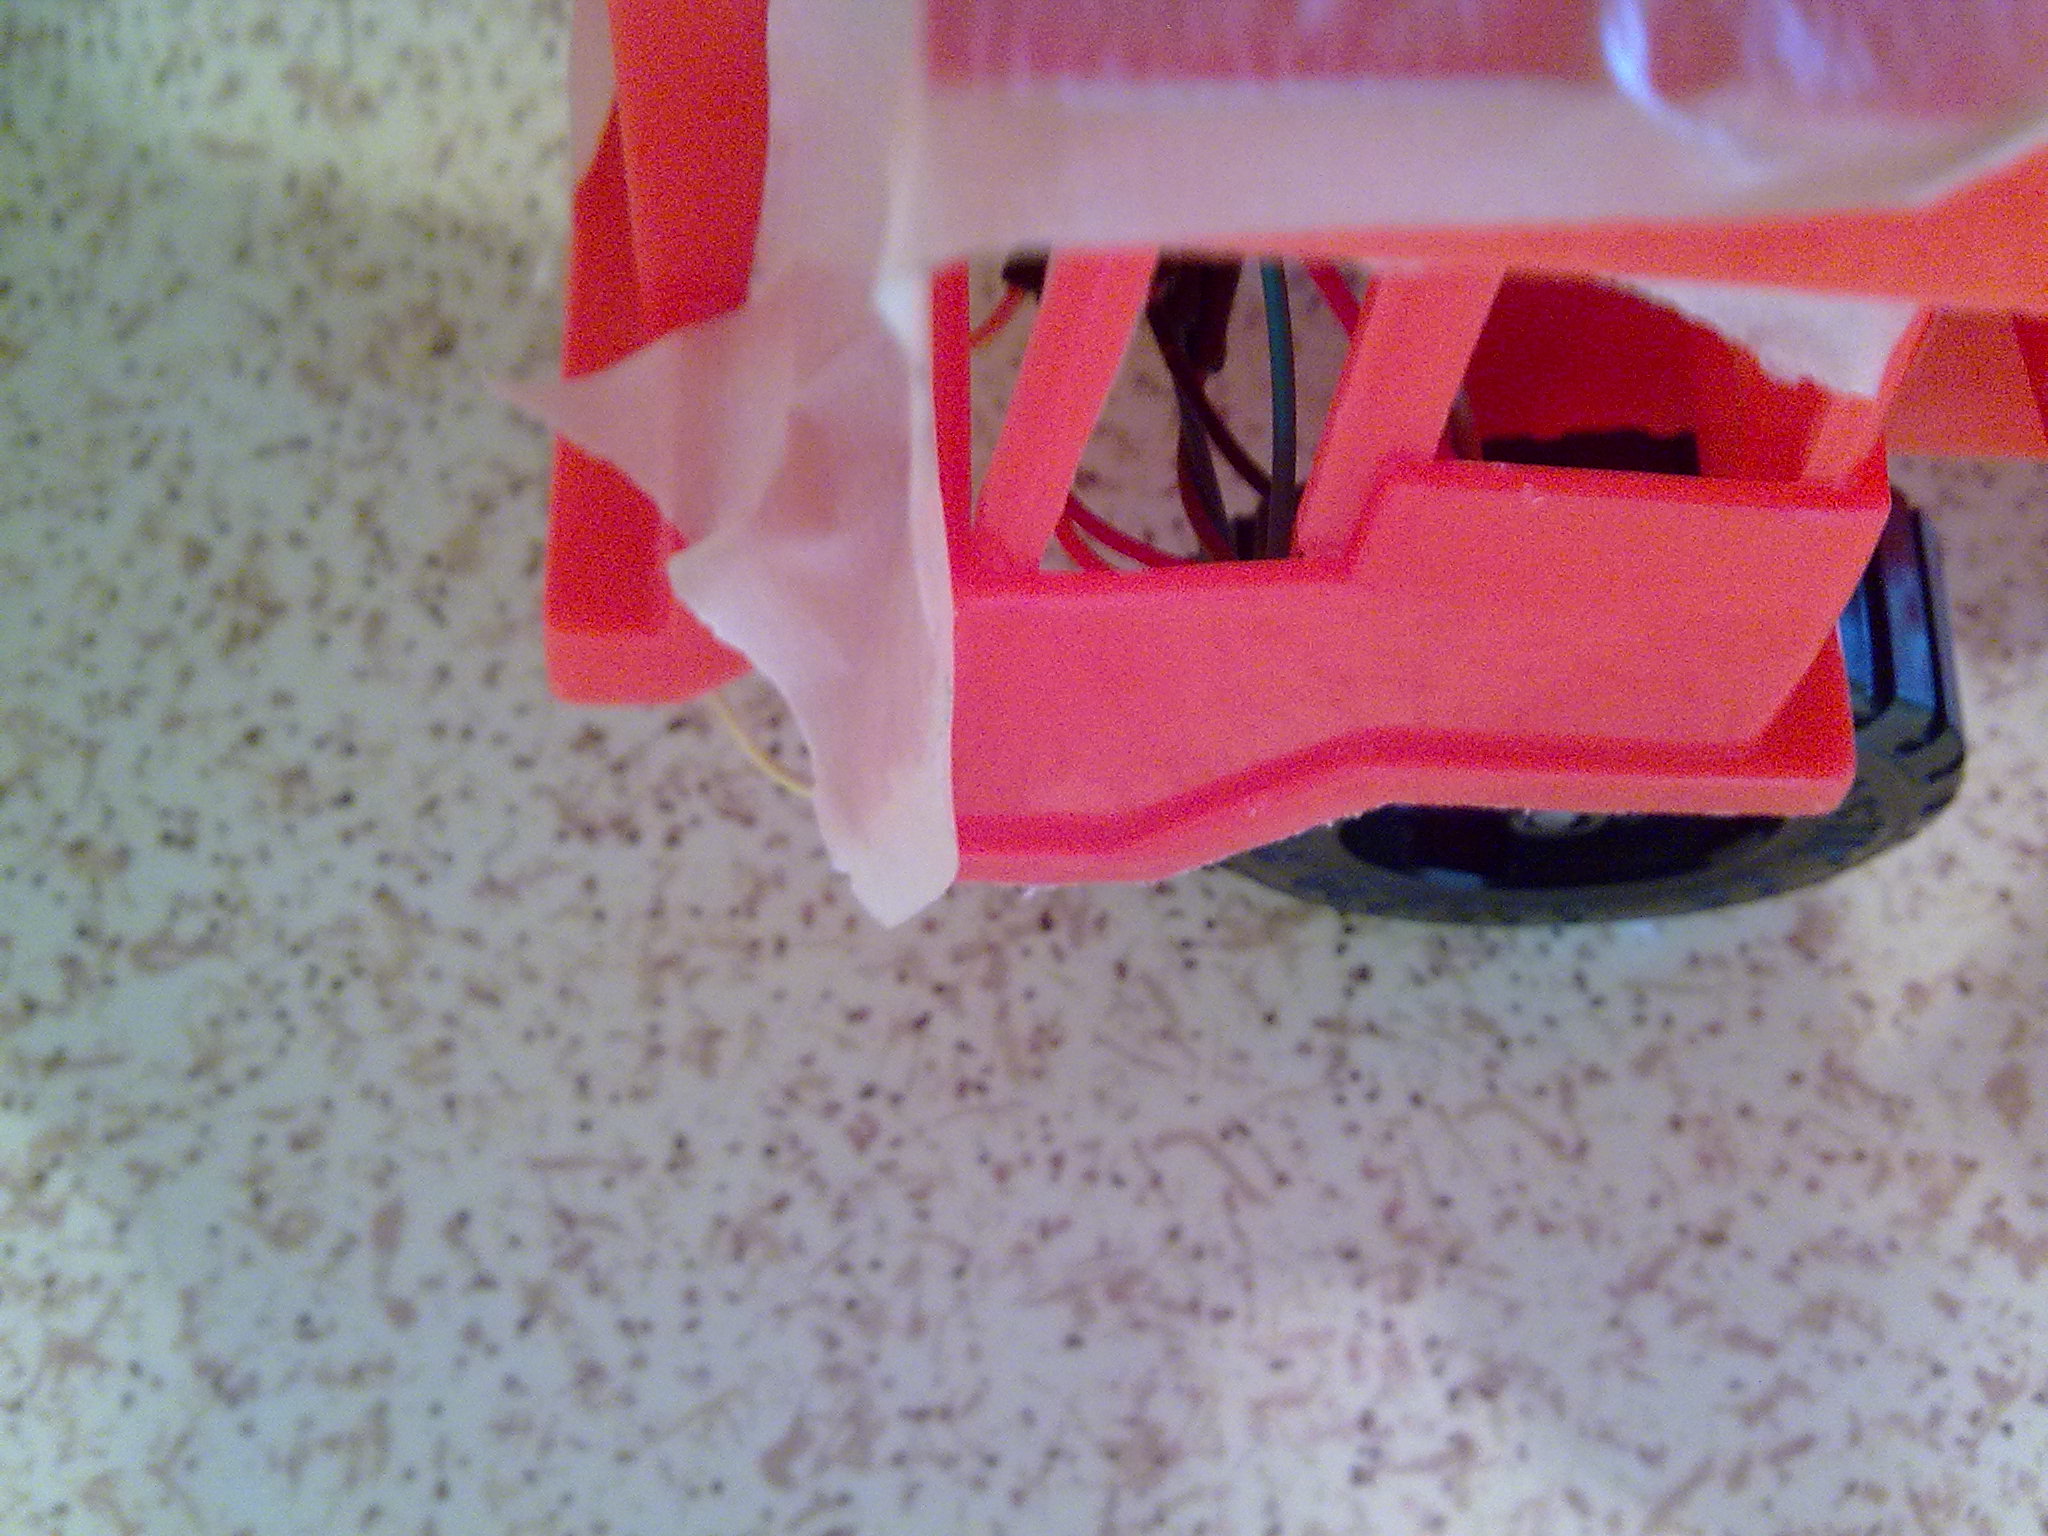
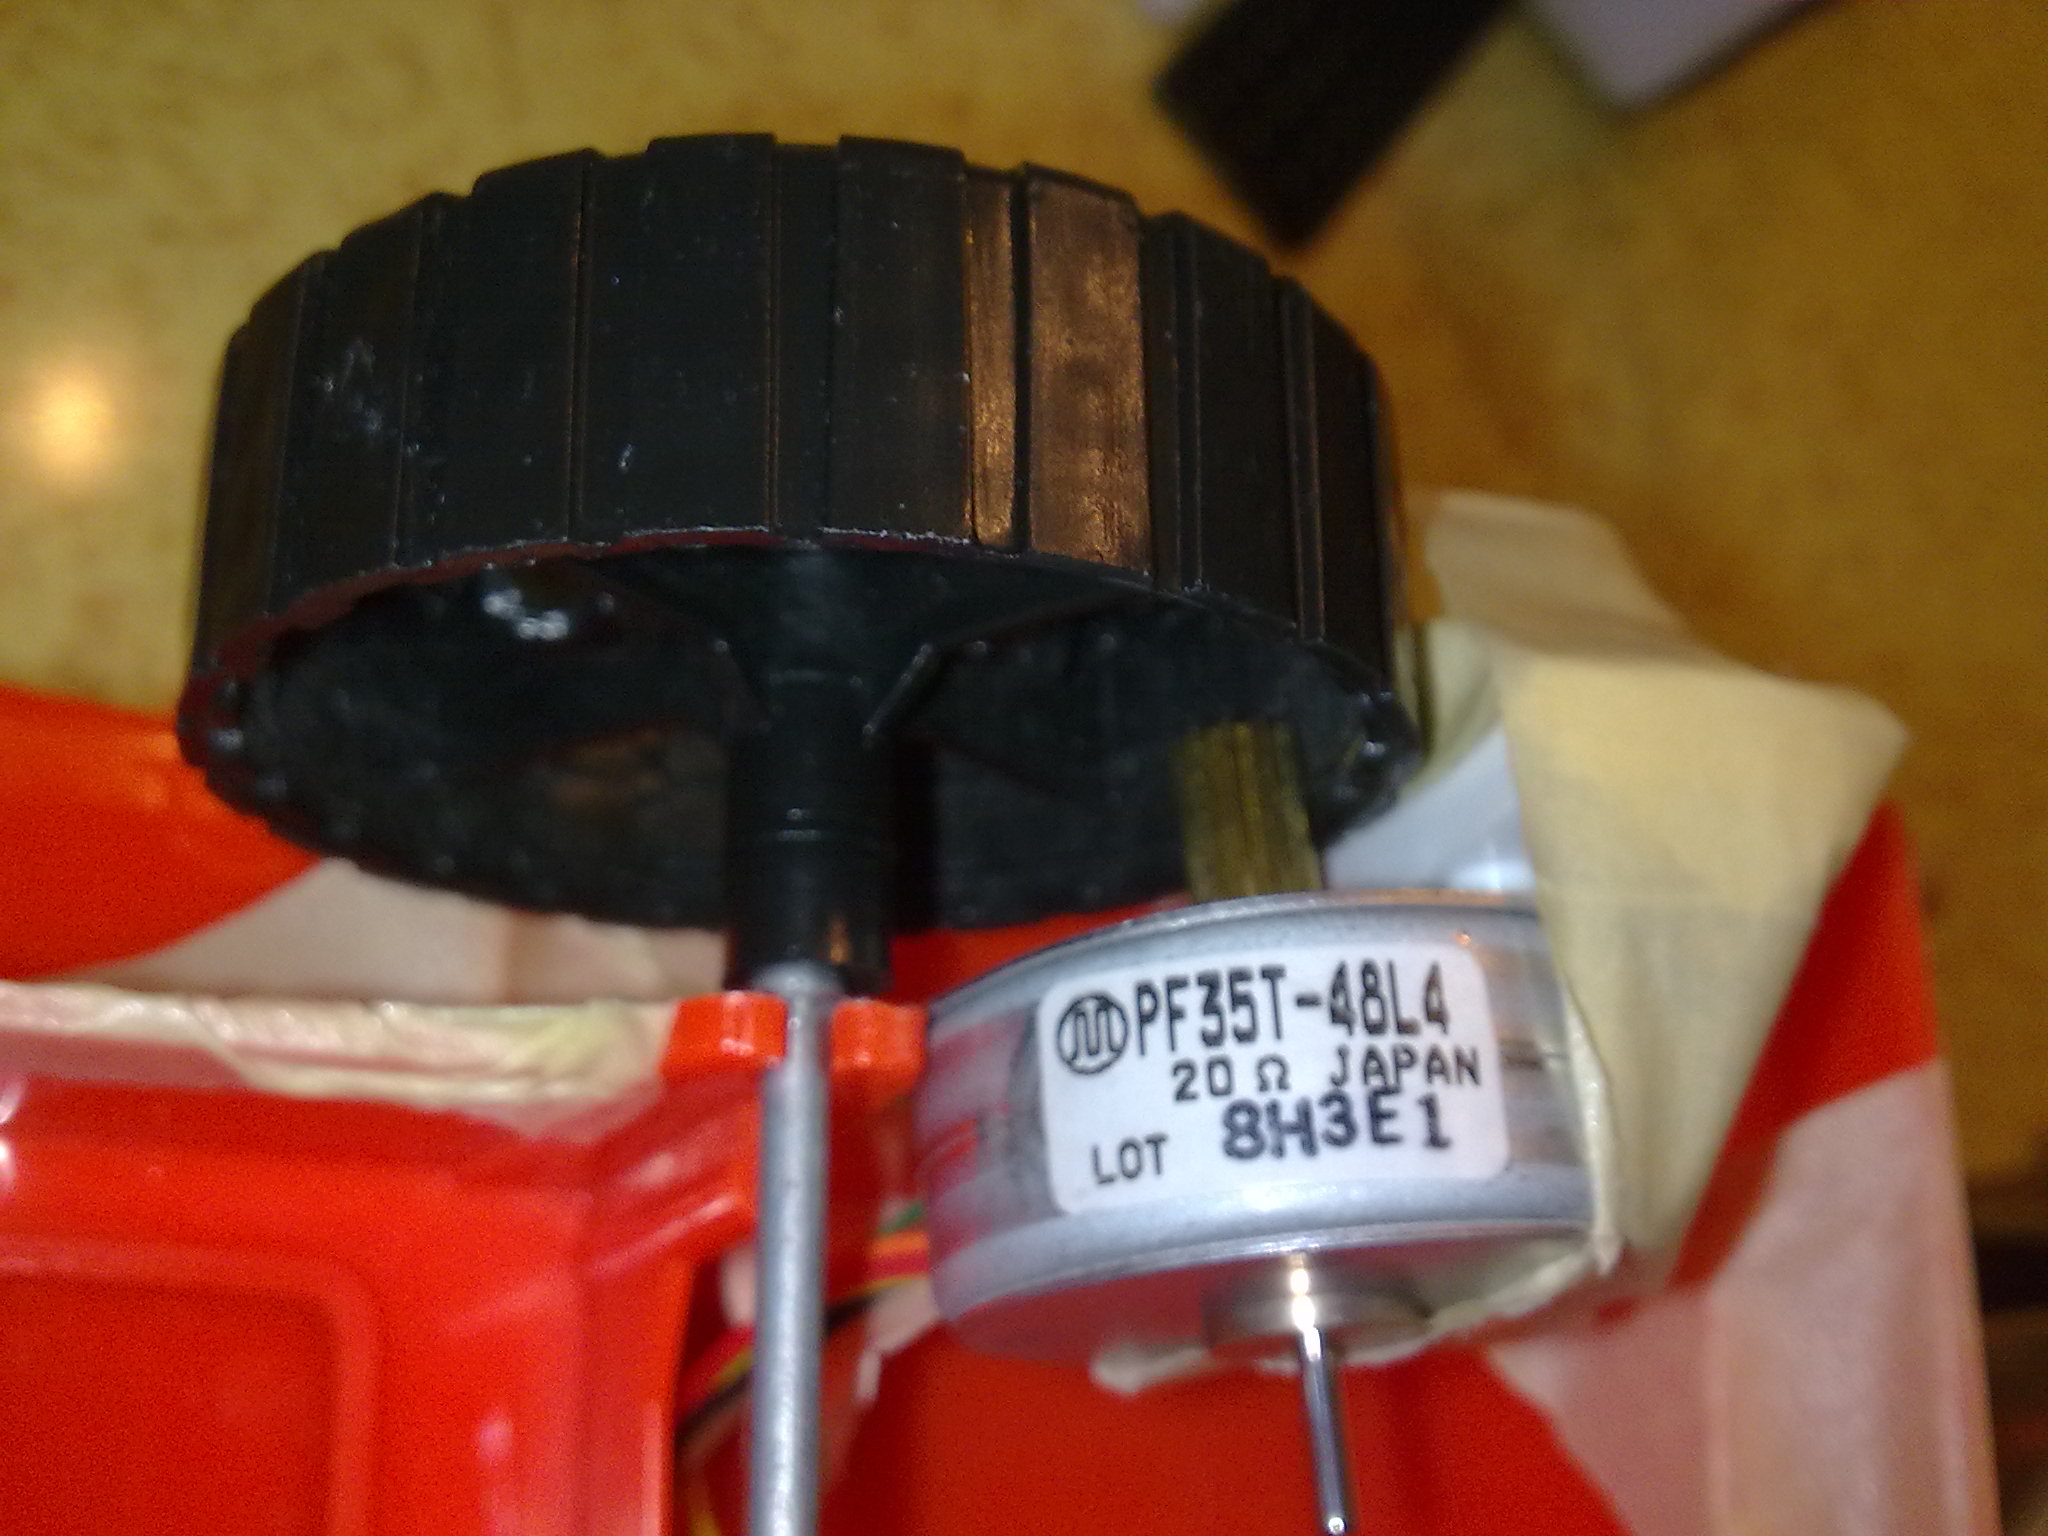
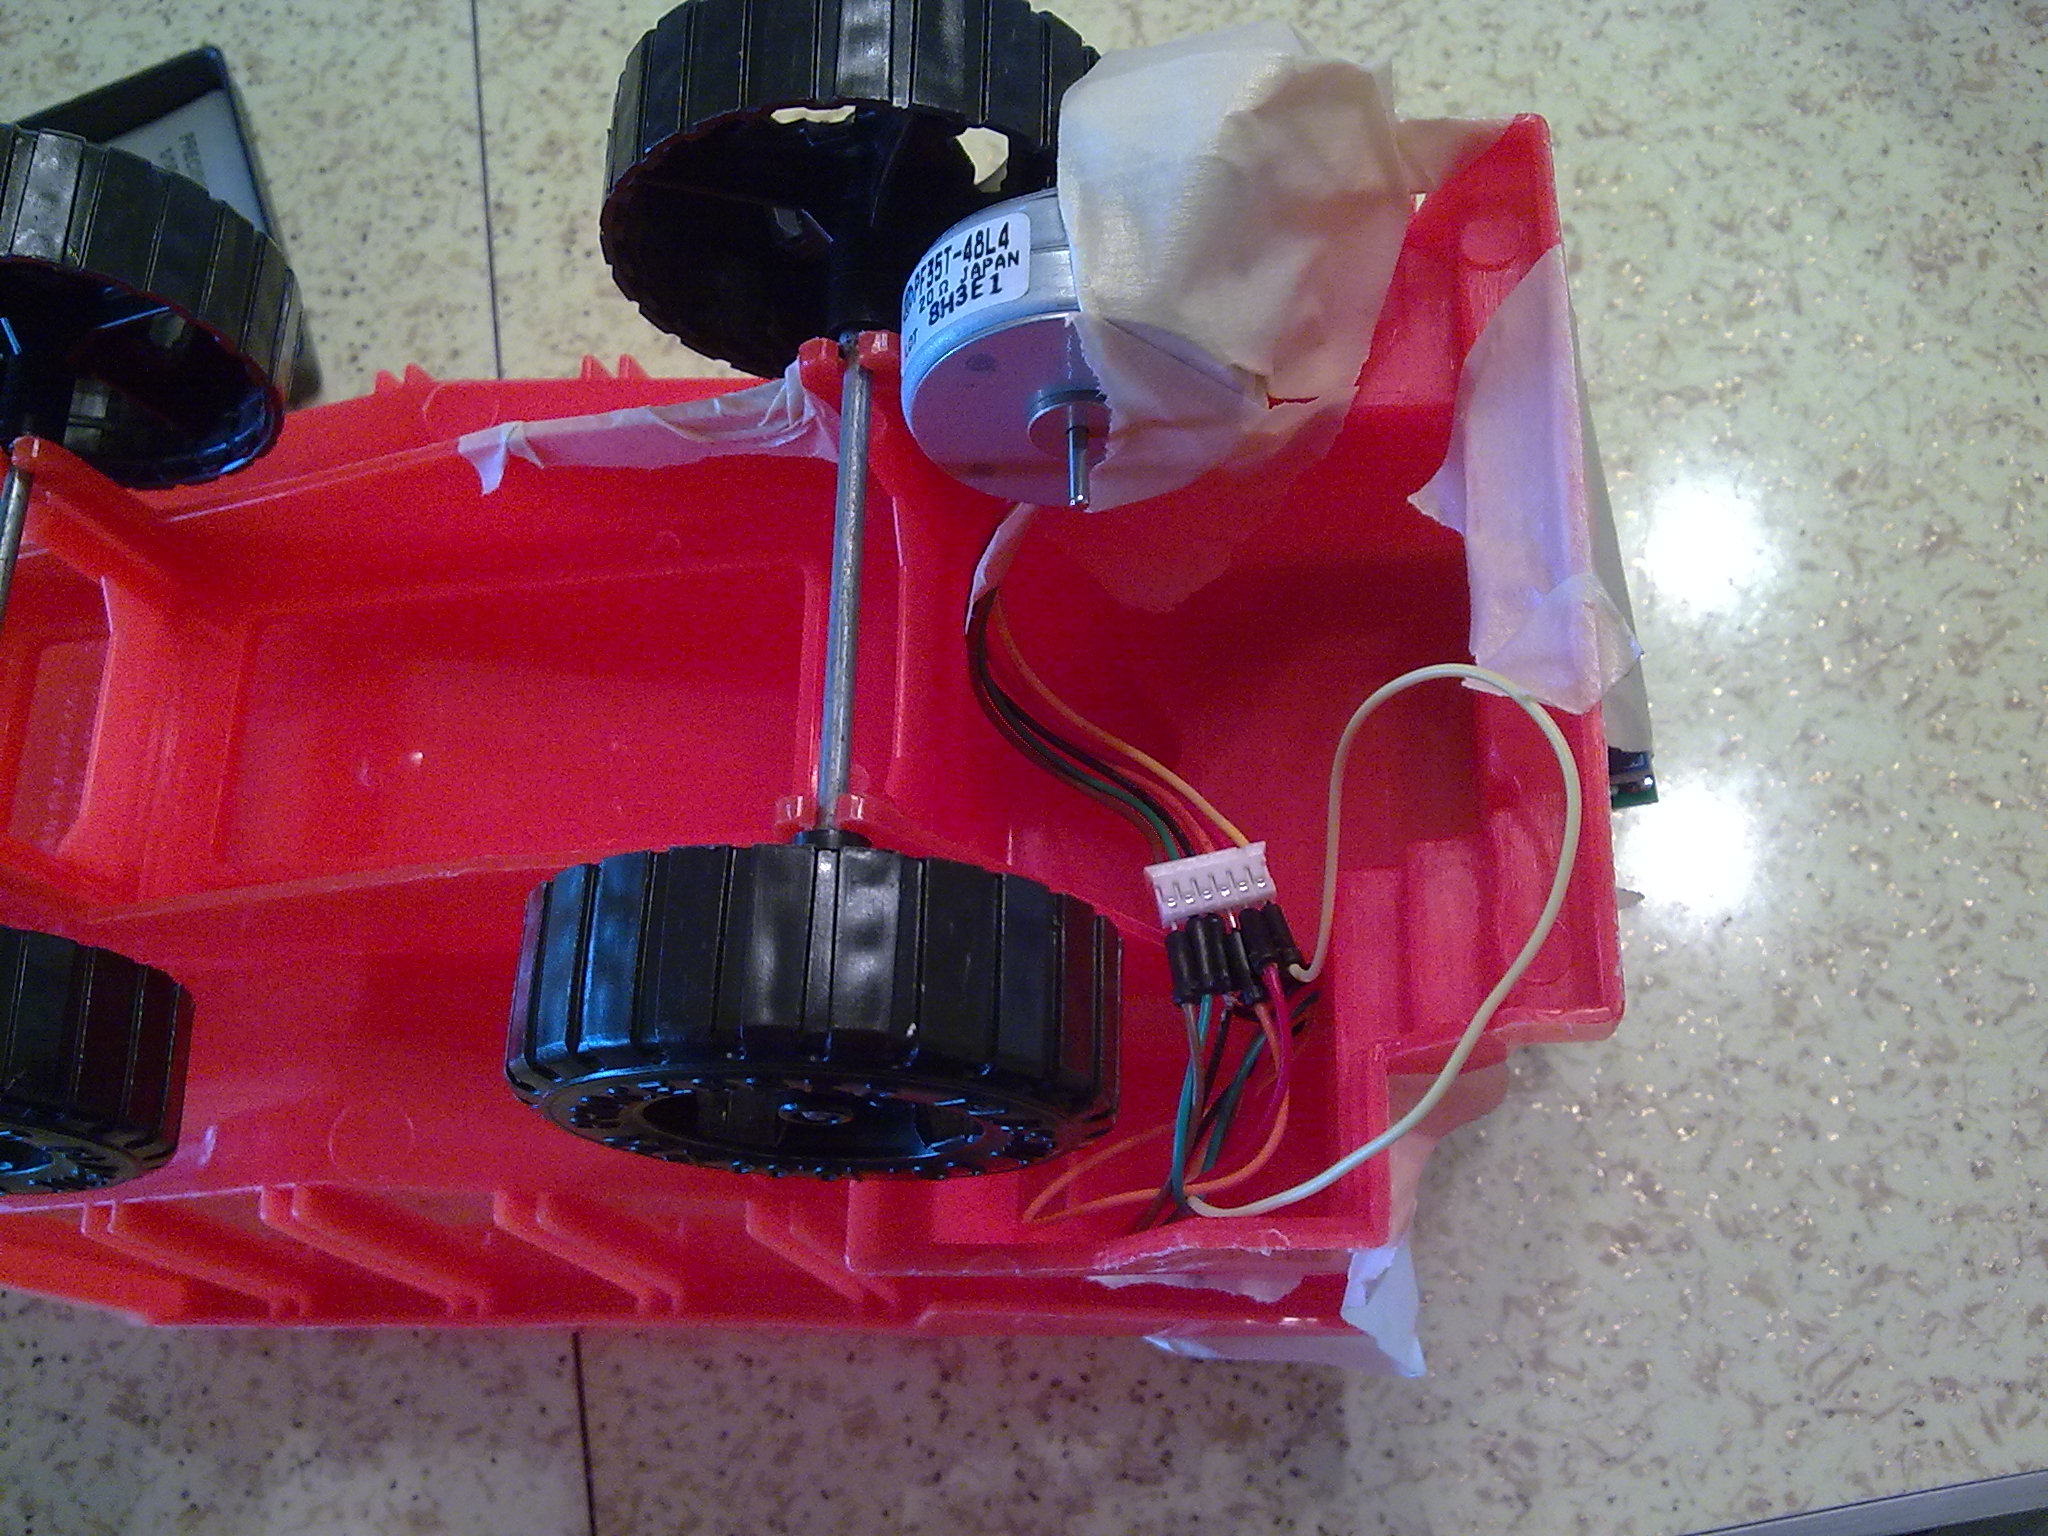
We routed the motor control wires in through the window of the truck and oriented the USB port for easy reprogramming. The loc blocks provide additional pressure on the primitive drive coupling: we put the bare metal gear from the Stepper directly against the grooved inside of the plastic truck wheels.
We assembled the Loc Blocks so that they fit into an indentation in the truck's underside near the front right fender. One side of the stepper attaches to the wheel mounting "bracket" with tape. The other side, we attached to the Loc Blocks, which help provide enough pressure that the stepper can drive the wheel directly.
We experimented briefly with the default AFStepper sketch and determined that Microstepping was pretty effective, providing miniml slipping of the wheel against both carpet and our formica kitchen table "bench." You can see this (and hear it, microstepping is noisy!) in the tabletop video. We also found that double-coil stepping worked pretty well on carpet, moving the truck a little faster. The carpet video shows that method.
Total time, including searching for all the parts: about an hour. Assembly time: 30 minutes. We commented out all the "BACKWARD" stepper commands and then commented out the other forward methods (SINGLE, INTERLEAVE, STEPPER, OR MICROSTEP) leaving only the desired method active.
